
Retrocomputing: The 486 Real-Time Clock Repair
February 17, 2022
The 486. A lightning fast processor from Intel that unleashed unfathomable power to consumers in the early 90s.
Thinking back to the day my Dad brought home the first family computer, I can definitely say I was one lucky kid. I remember the countless days and nights of watching him tinker around, issuing MS-DOS commands, installing software and games, and teaching us how to operate it. It was a wonder to behold. Who would have guessed bringing this machine home would have been the start of my lifelong interest in computers and ultimately be the spark that set me on a career path as a programmer?
So, 30 years later, here I am once again booting up a machine akin to our family computer. Only this time I'm beginning a new journey - one which travels back in time as I explore vintage computer hardware!
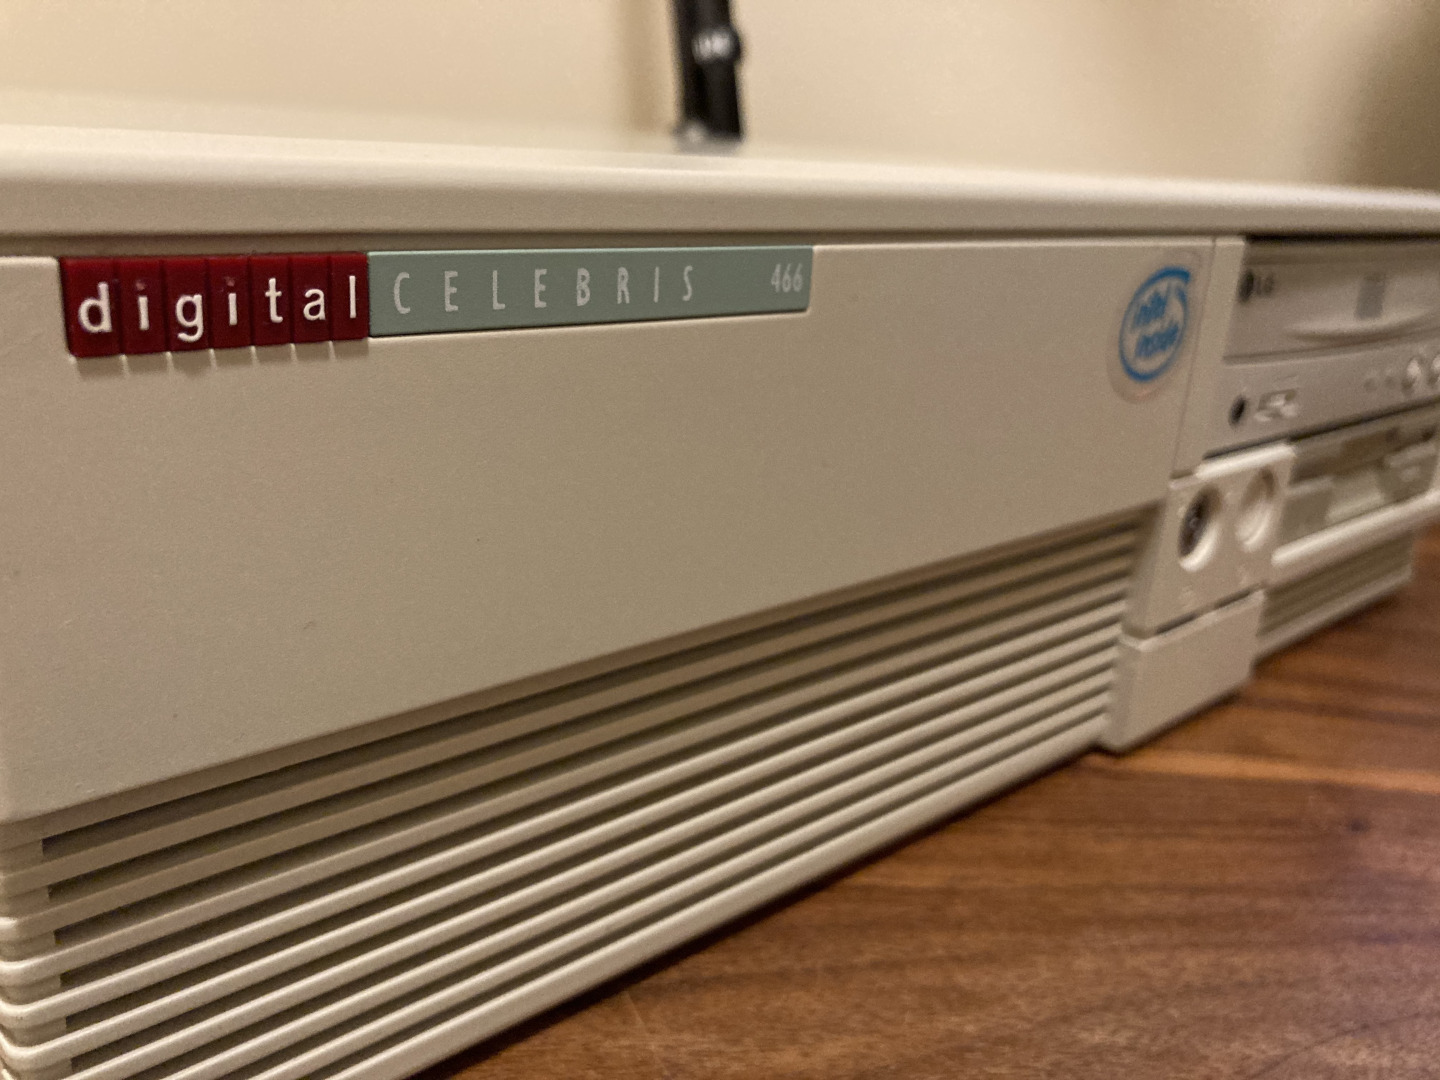
This all started in one of the many Covid-19 lockdowns we experienced - in search of a new source of entertainment, I decided I wanted to play some old computers games with the caveat that they had to be played on original hardware for full nostalgic factor. So after many hours of searching on eBay I found and purchased a DEC Celebris 466 with the disclaimer that the BIOS would not maintain it's settings after powering down. Do you remember that circular looking battery on your motherboard? This is what powered the memory to store your BIOS settings when the computer was off. No problem. I just need to replace the coin cell battery. Wrong!
If you're unfamiliar with real-time clocks (RTC) well they're often conflated with CMOS which is contained within the chip itself. CMOS is a type of circuit design common in memory chips and inside the RTC chip is a small amount of memory (CMOS RAM) that is used to store configurations for the BIOS. Similar to the RAM on the motherboard, CMOS RAM is also volatile and will lose any data it stores if it loses power. Hence the need for that coin cell battery.
DEC unfortunately designed the Celebris series with the RTC chip soldered directly to the motherboard. This wouldn't be an issue if it weren't for the fact that the chip in use, the Dallas DS12887, has the battery embedded inside the chip itself instead of on the motherboard. They clearly weren't expecting anyone to still be using these machines 40 years after production.
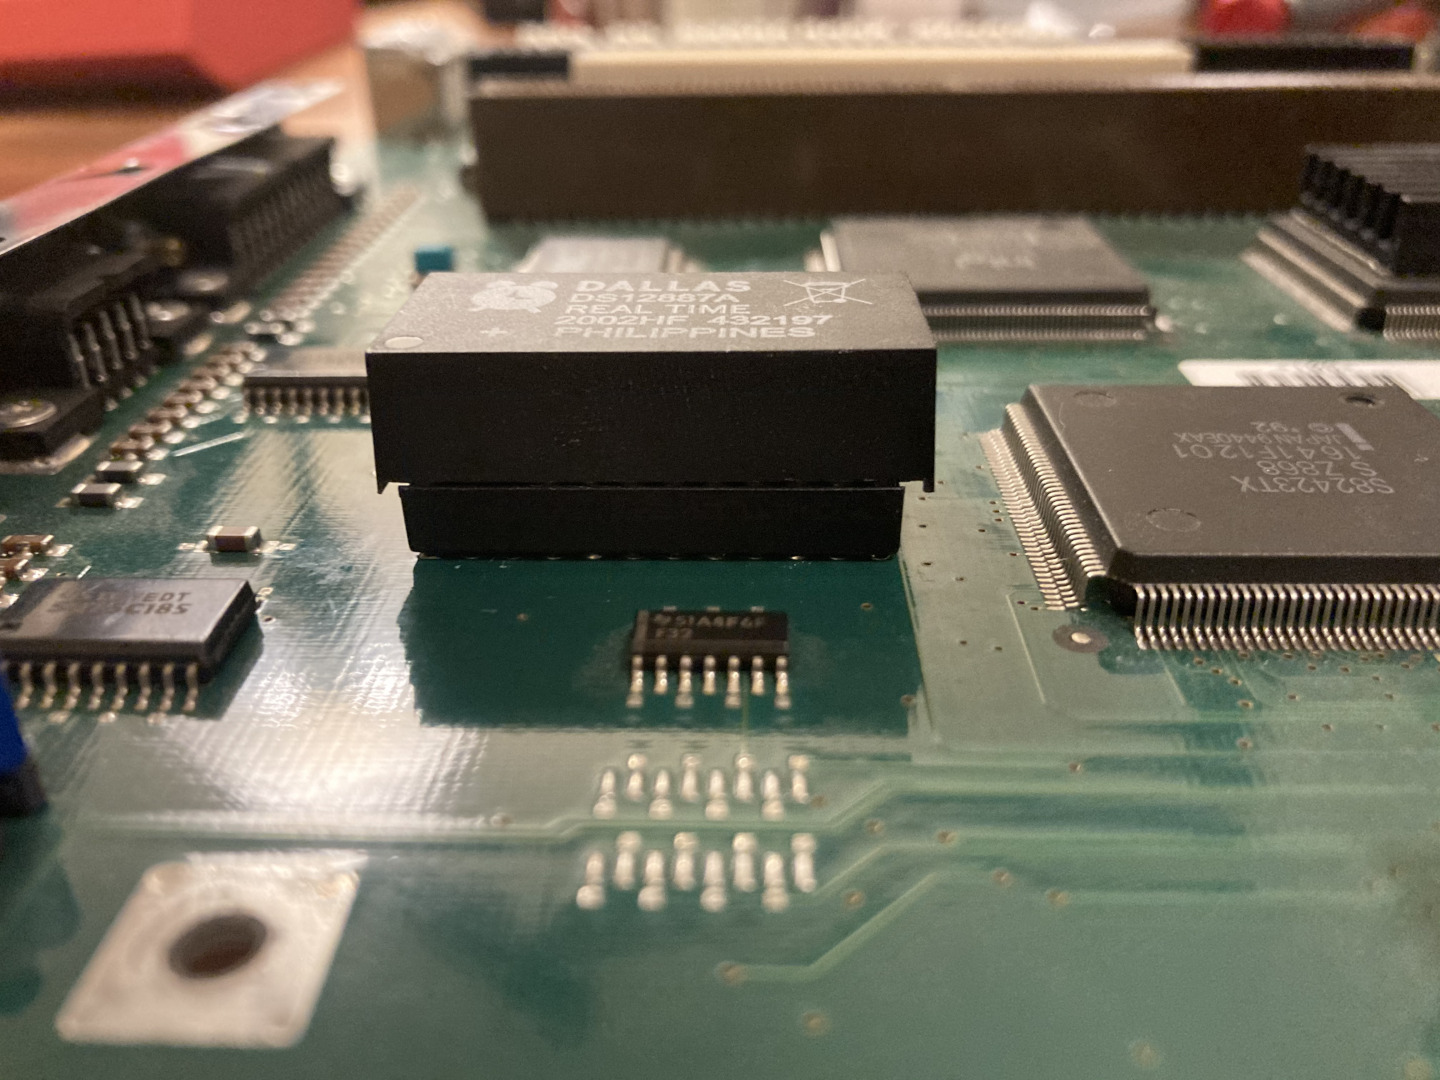
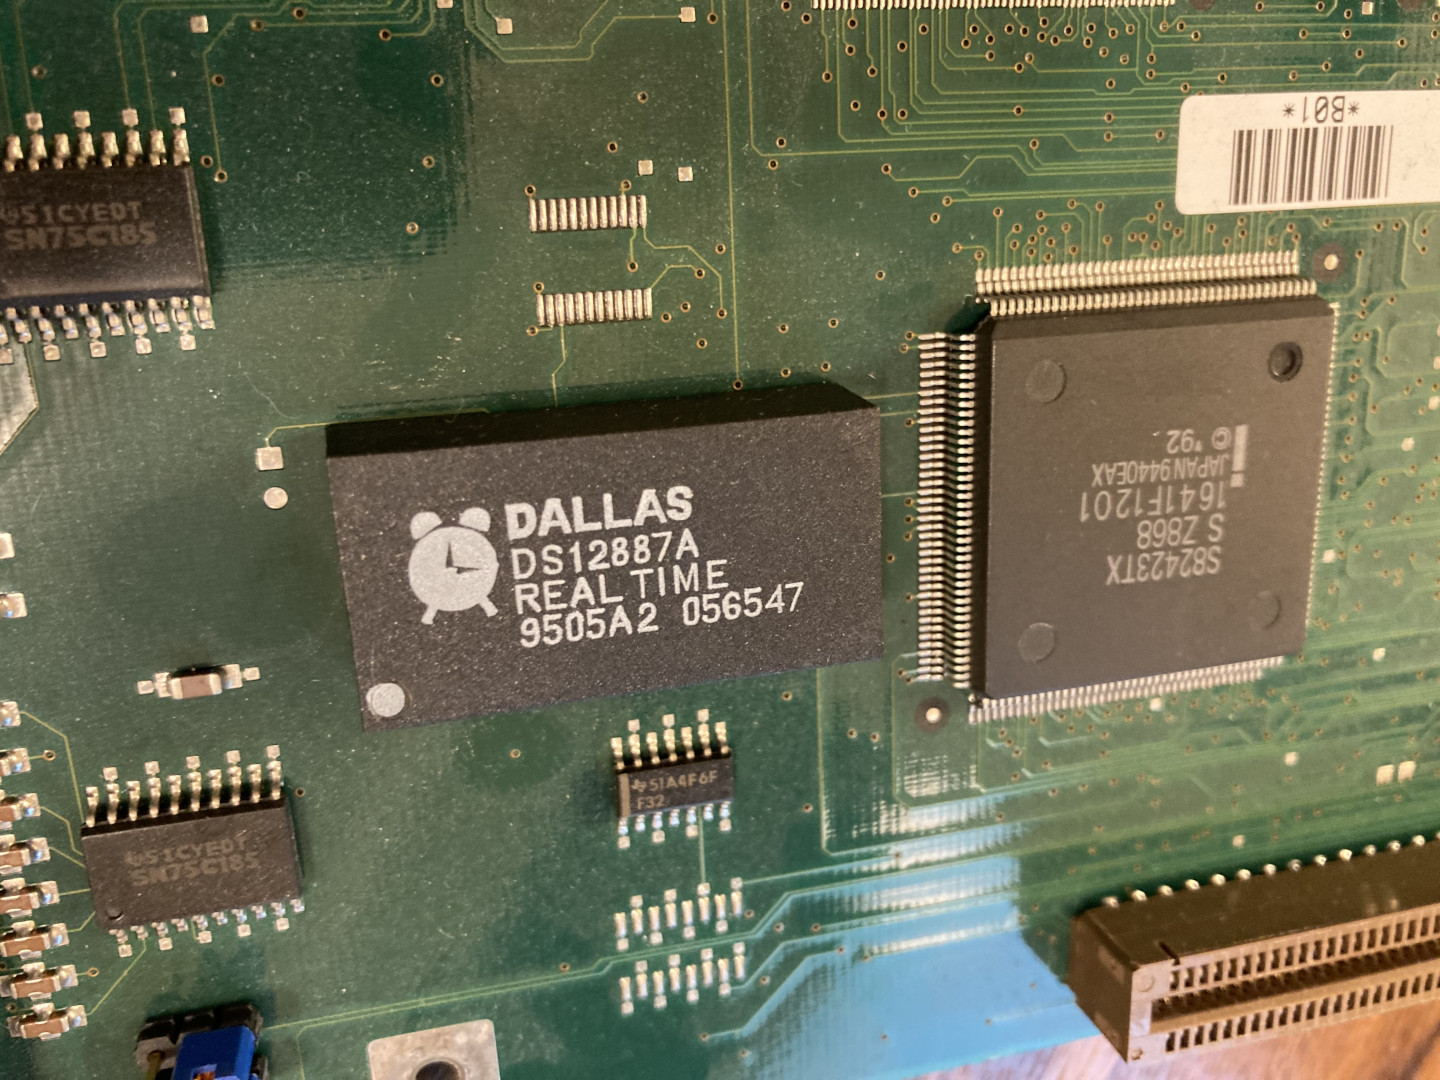 Dallas DS12887A real-time clock chip.
After searching online I discovered I wasn't the only person who was trying to solve this problem - the first solution I read about was to grind down the chip on pins 16 and 20 to expose the ground and positive battery terminals and solder a new coin cell battery to them. The other option was to desolder and replace the chip with a new one.
I opted for the latter (with the addition of using a socket so I wouldn't need to do this again) as I didn't want to have a gnarly looking chip and battery monstrosity on the board. Let the surgery begin!
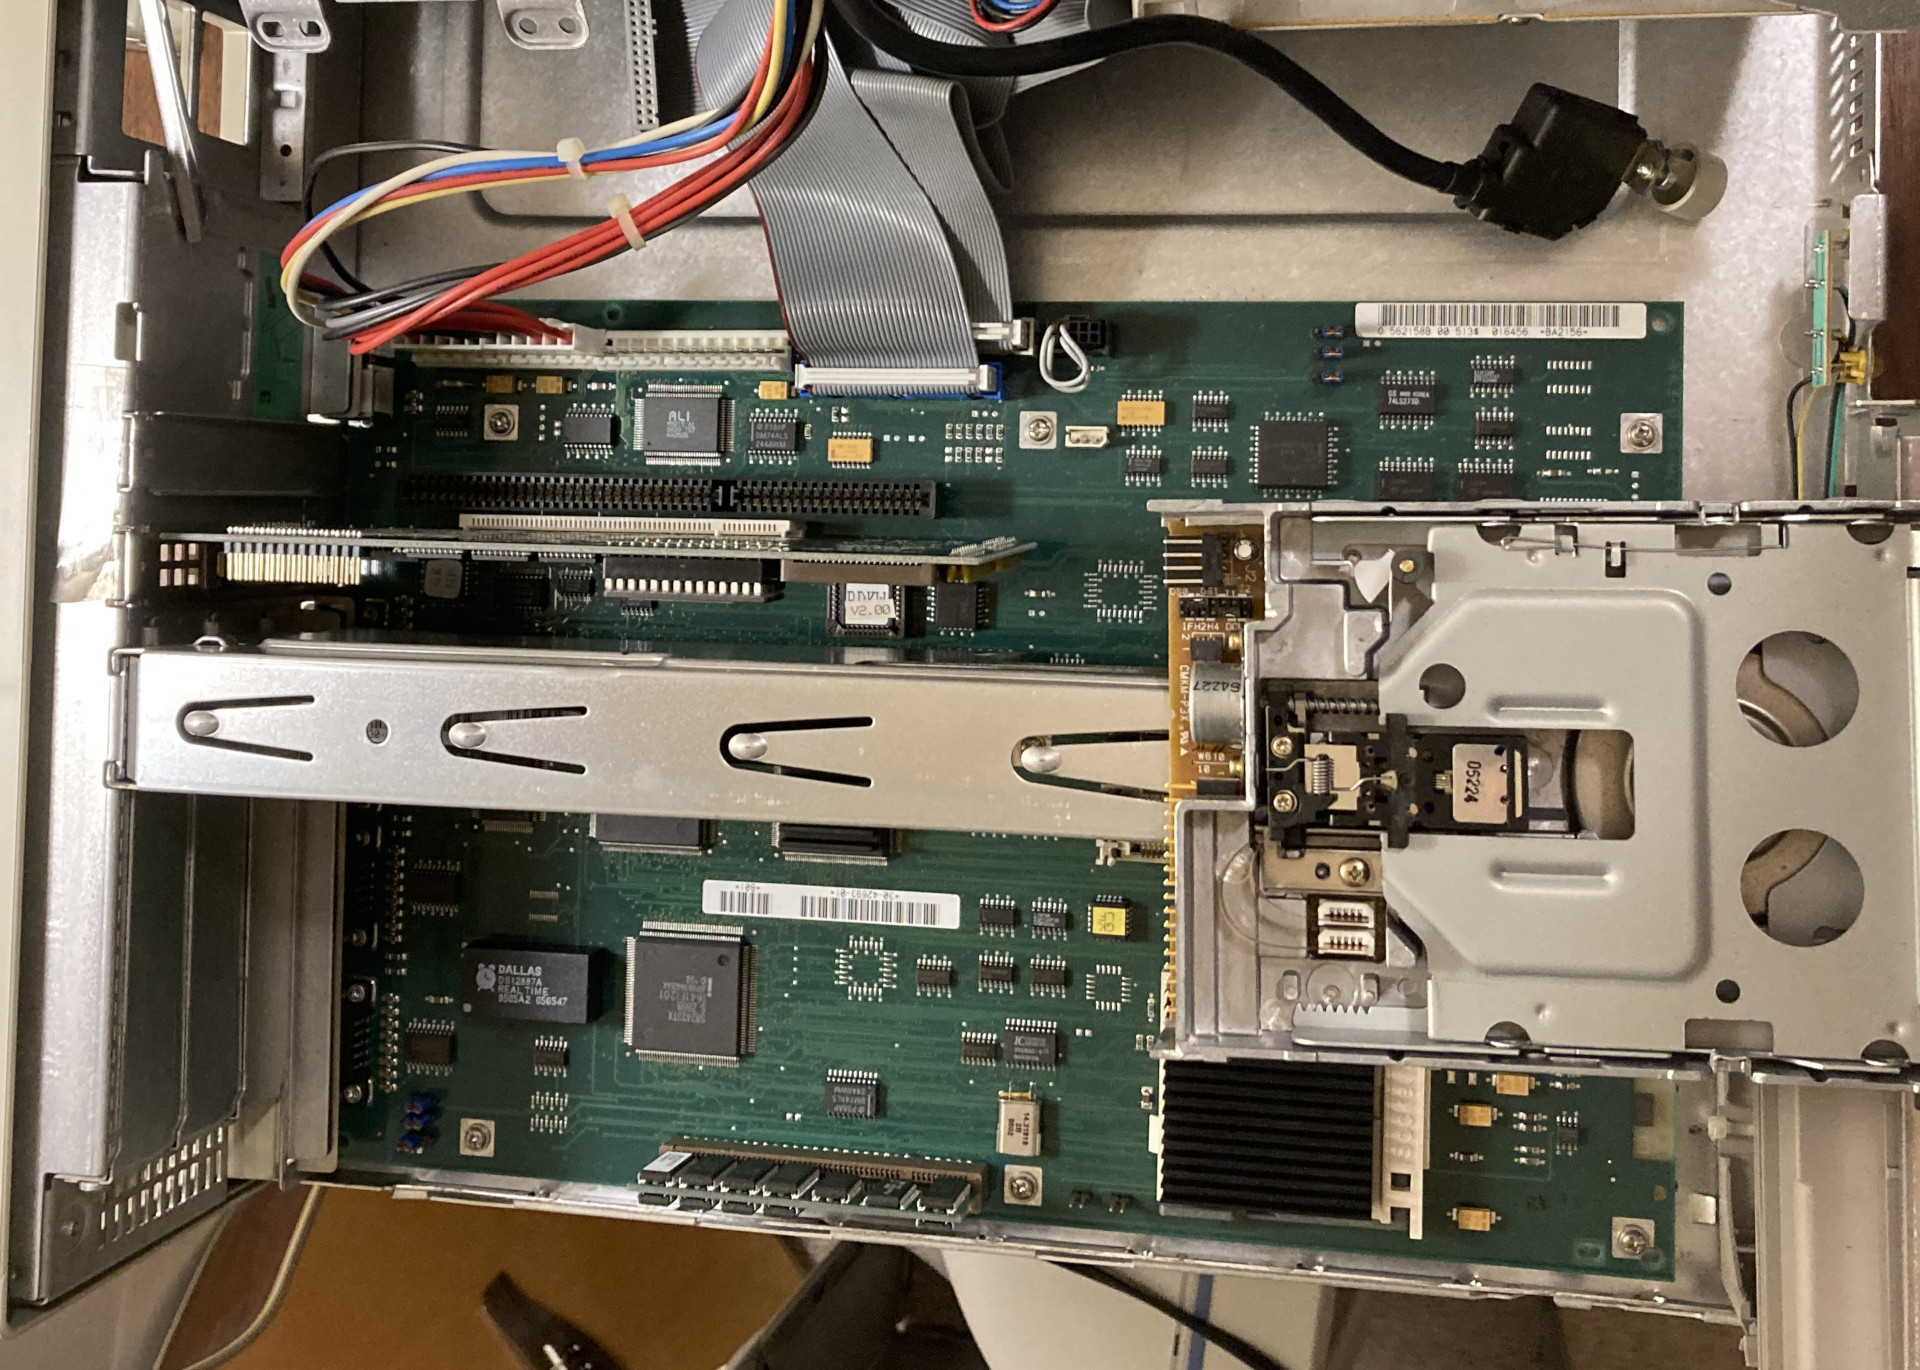
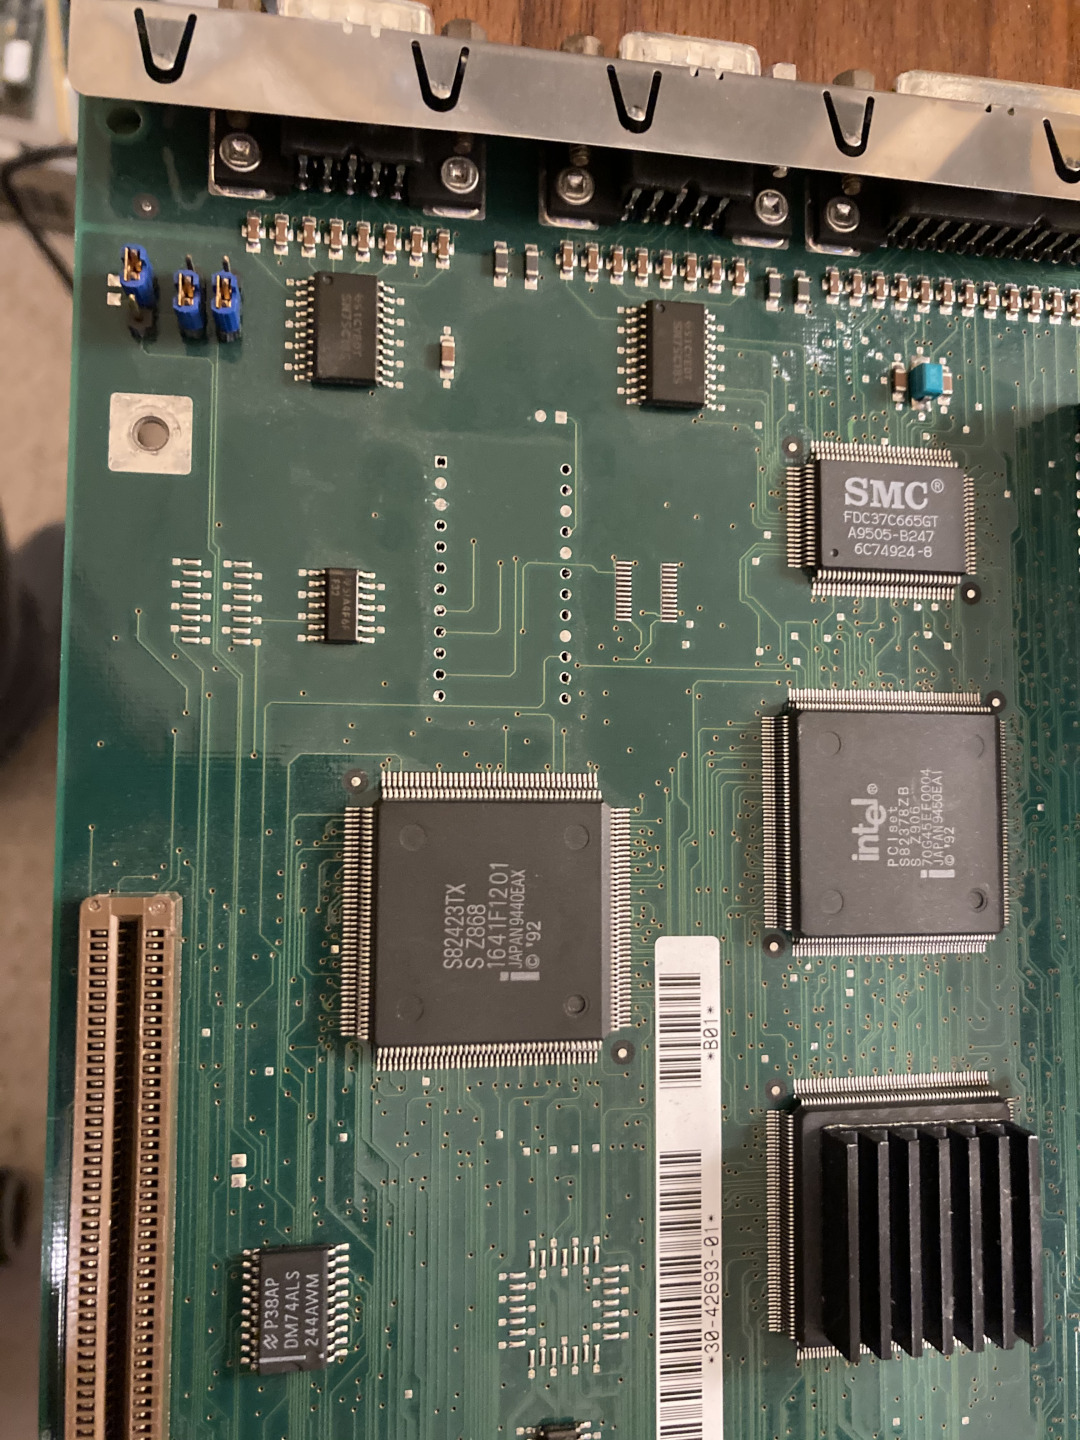
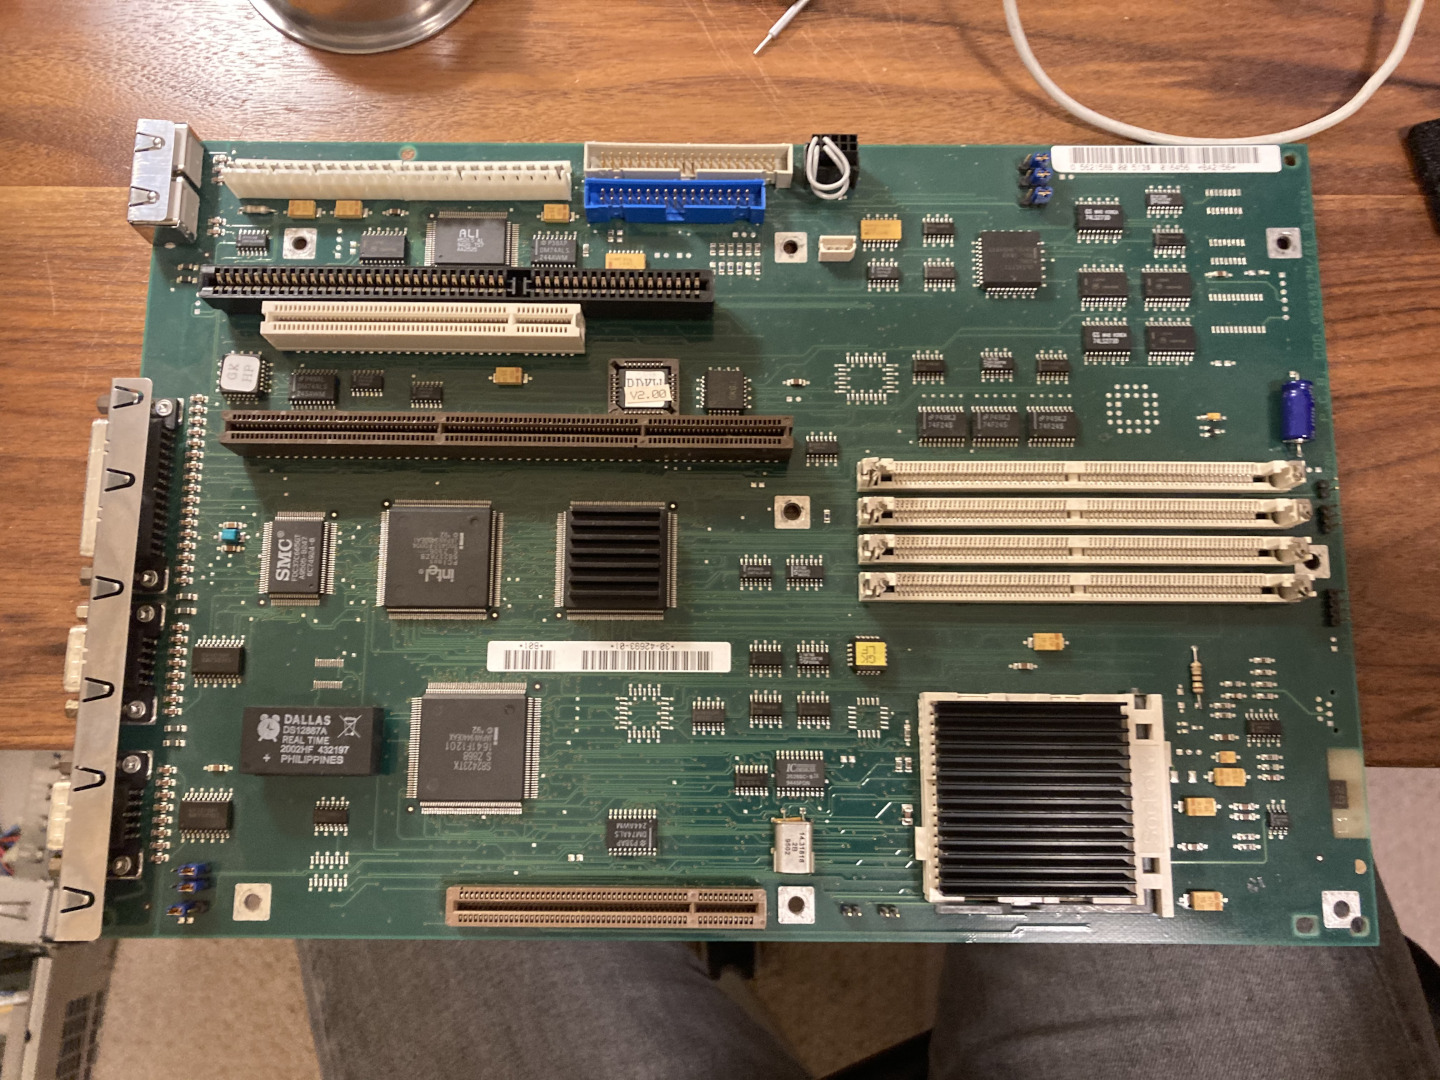
Overview of the motherboard with the RTC chip in the bottom left.
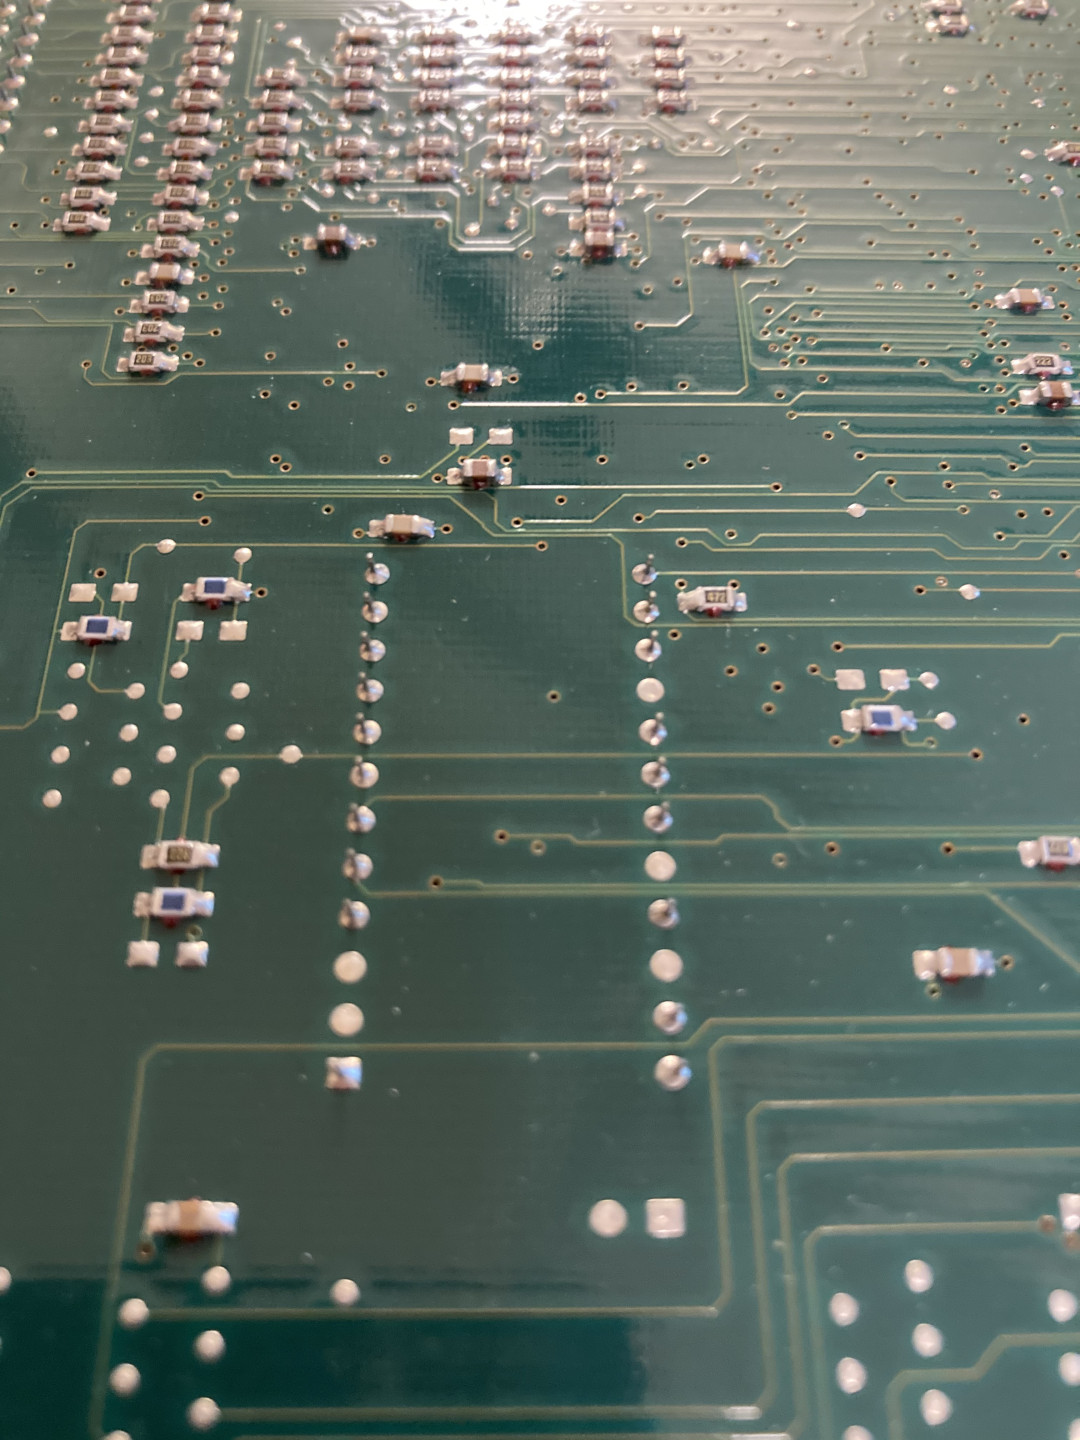
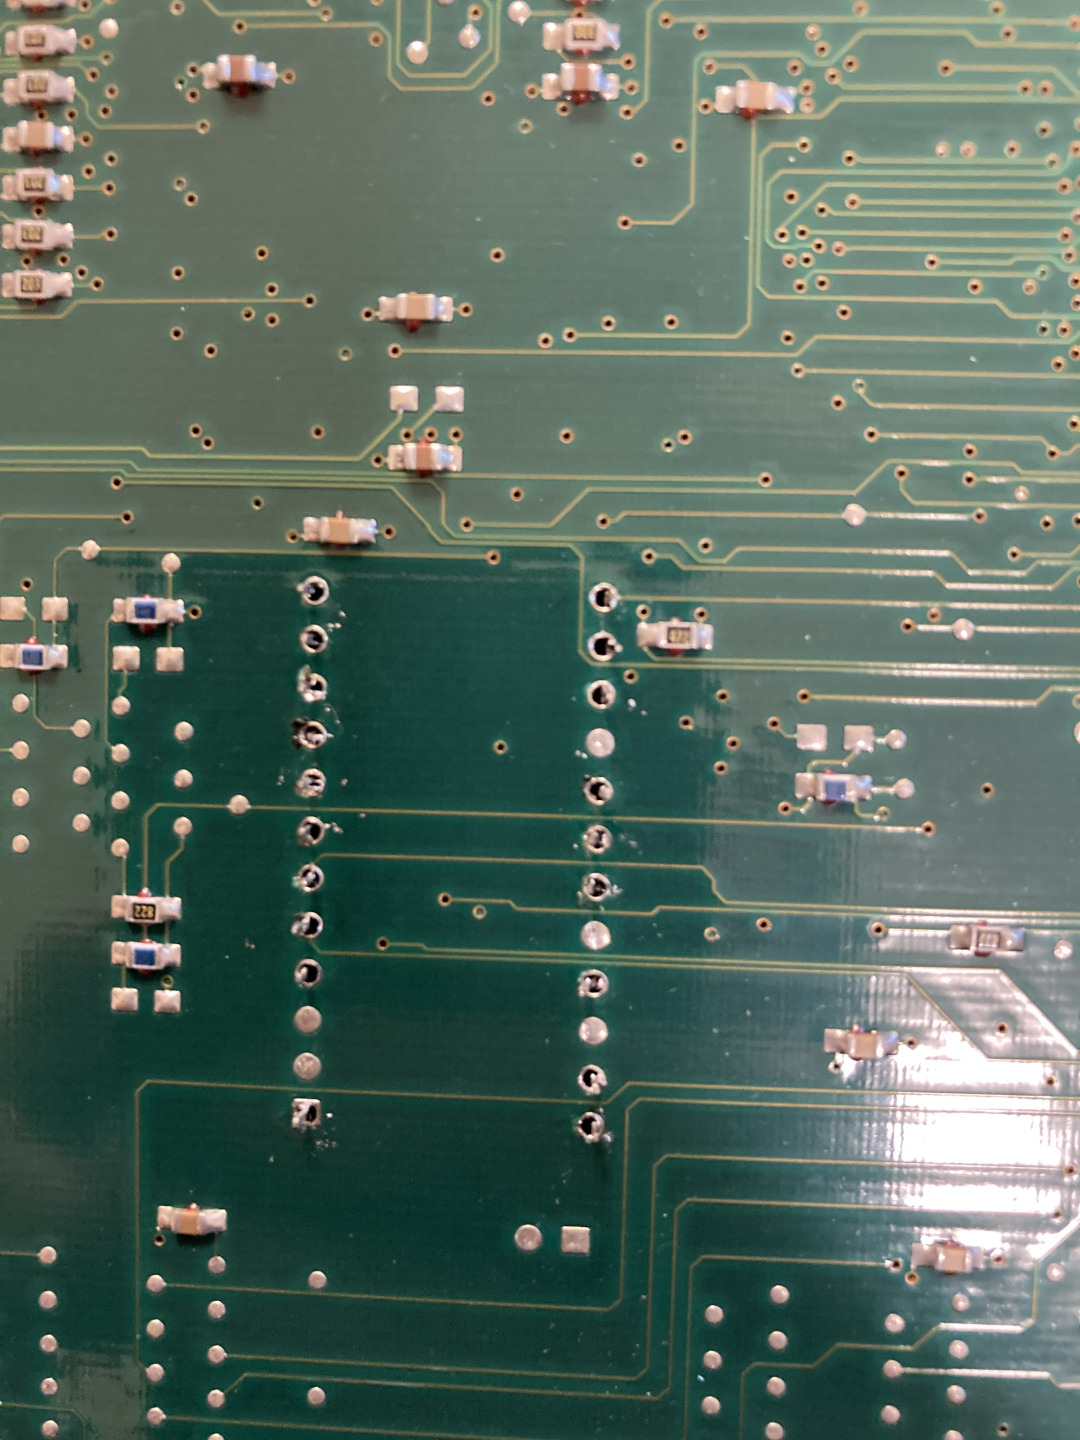
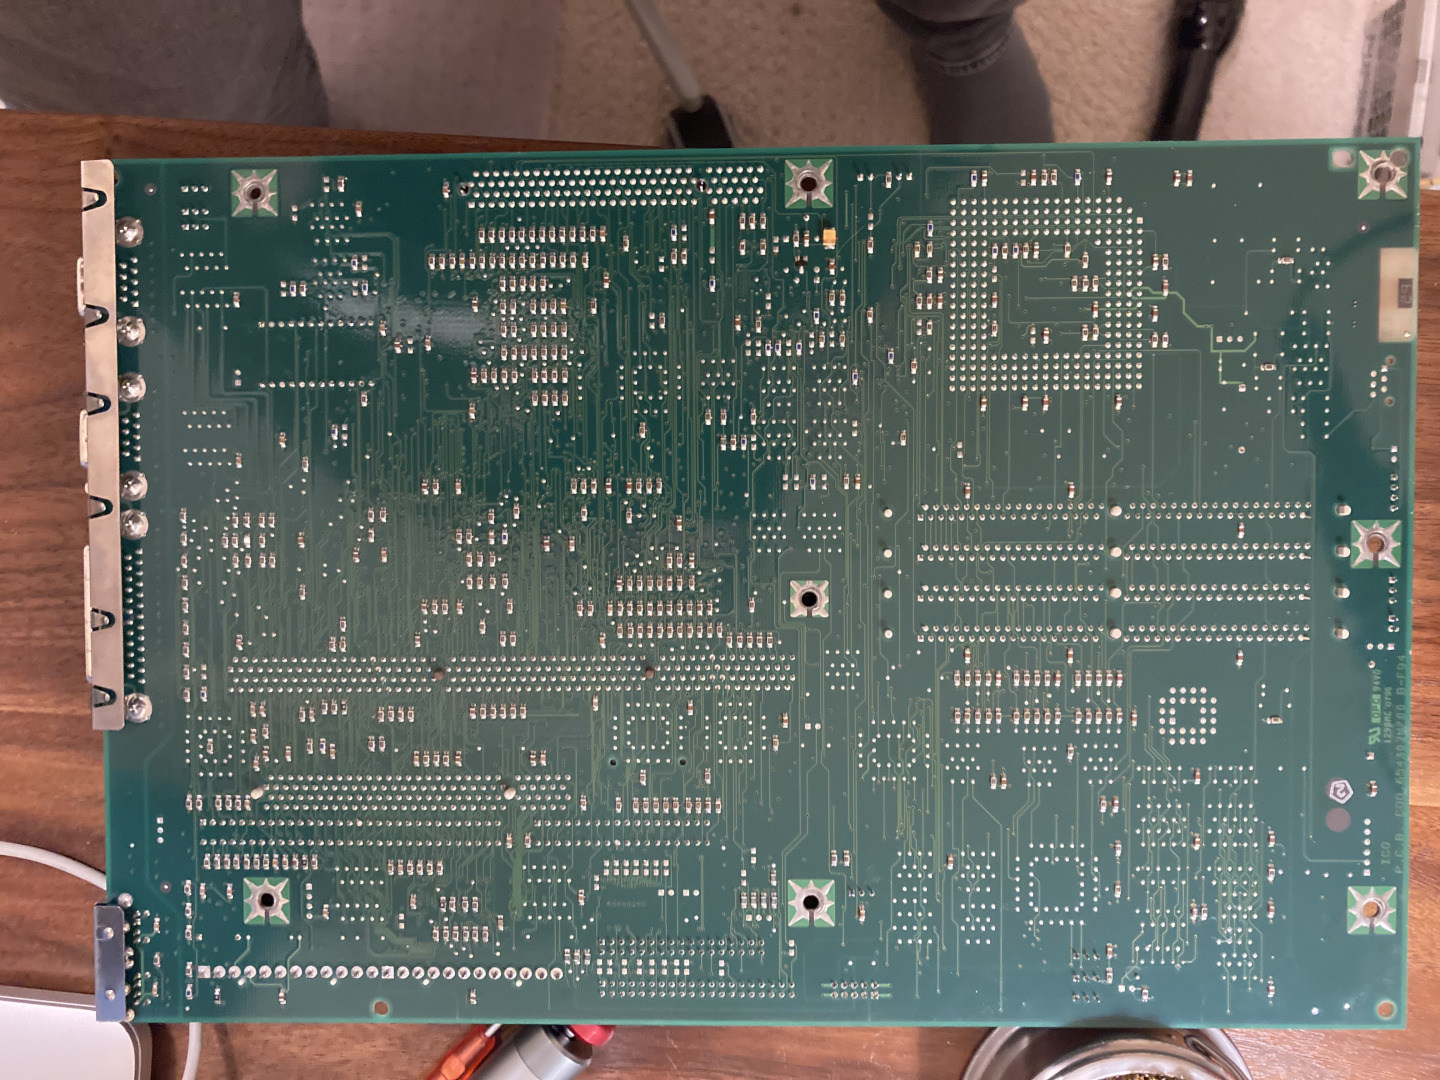
Underside of the motherboard showing the soldered pins. Notice some of the pins are missing, I take this into account when I'm soldering in the new socket.
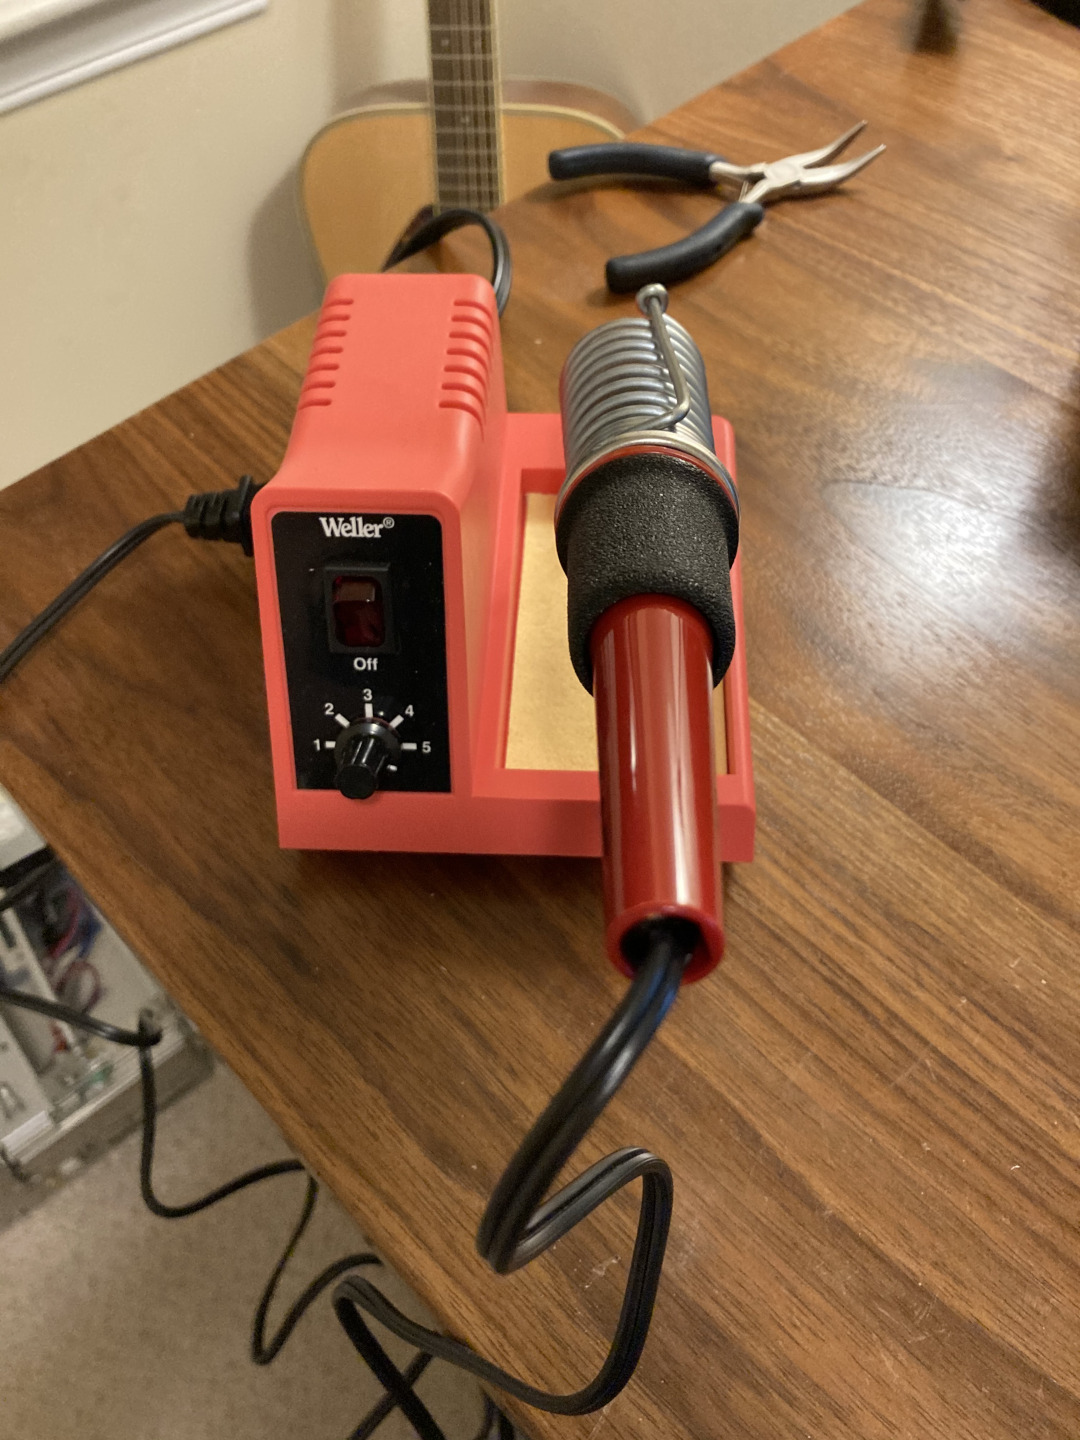
My Weller soldering iron heating up.
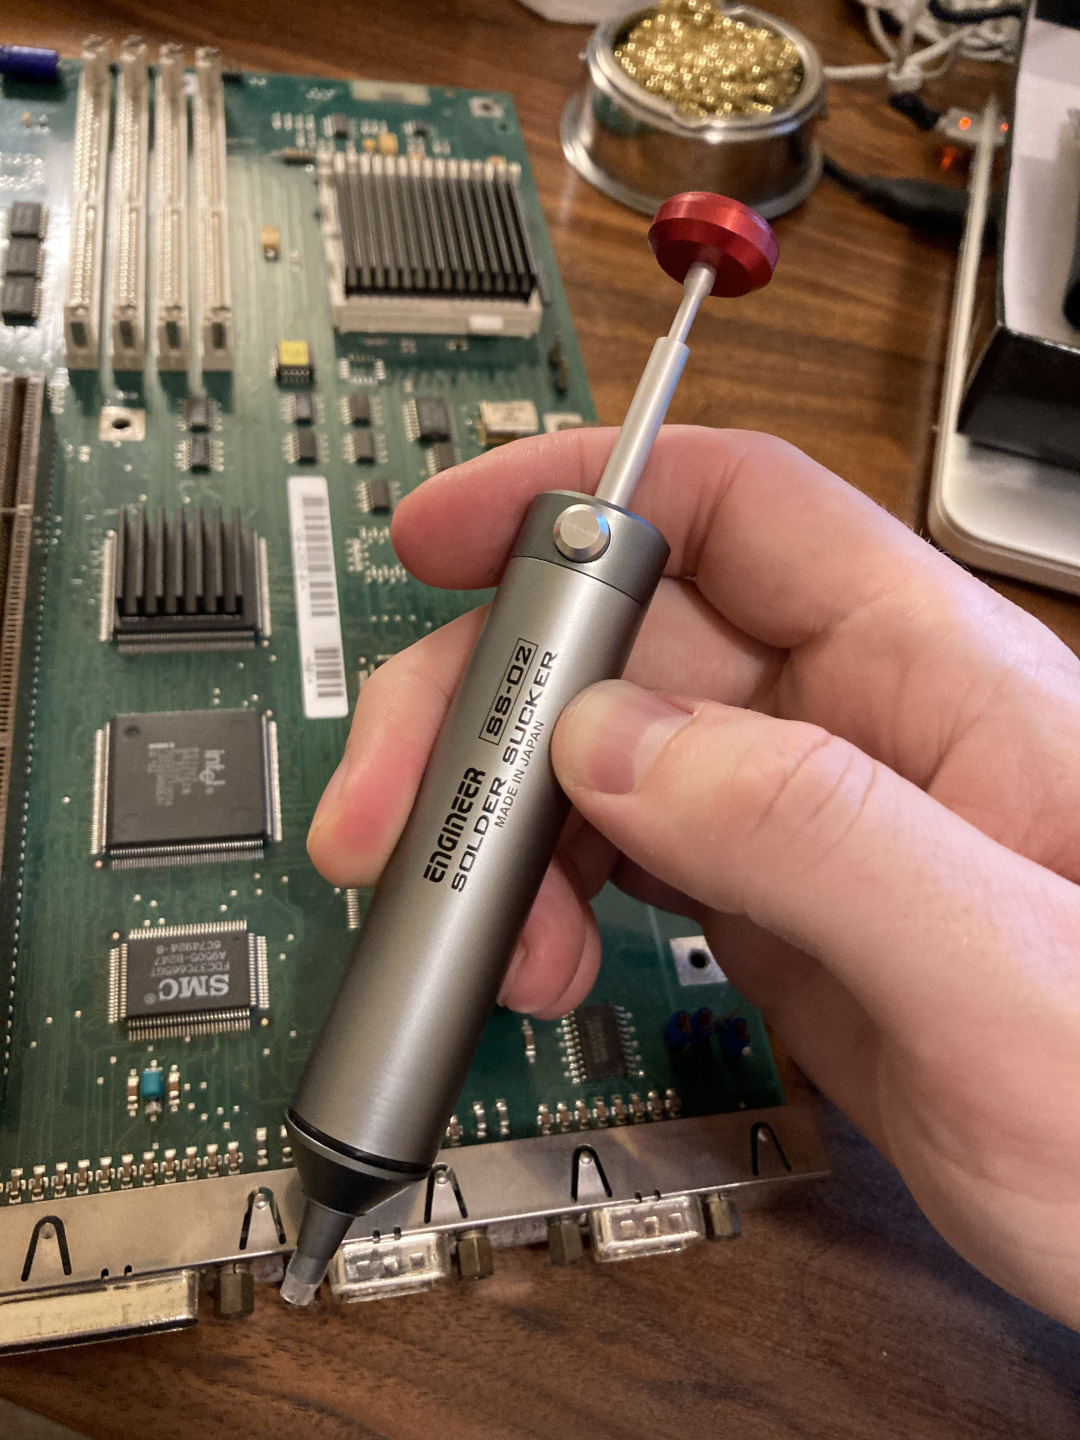
The solder sucker - after the iron had heated up the existing solder on each pin I used this tool to basically suck it away.
My first pass wasn't great. The chip was still stuck in there so I had to go over each pin again. I did use a heat gun very carefully to try heat up all the pins at once after most of the solder was removed to try and wiggle the chip out.
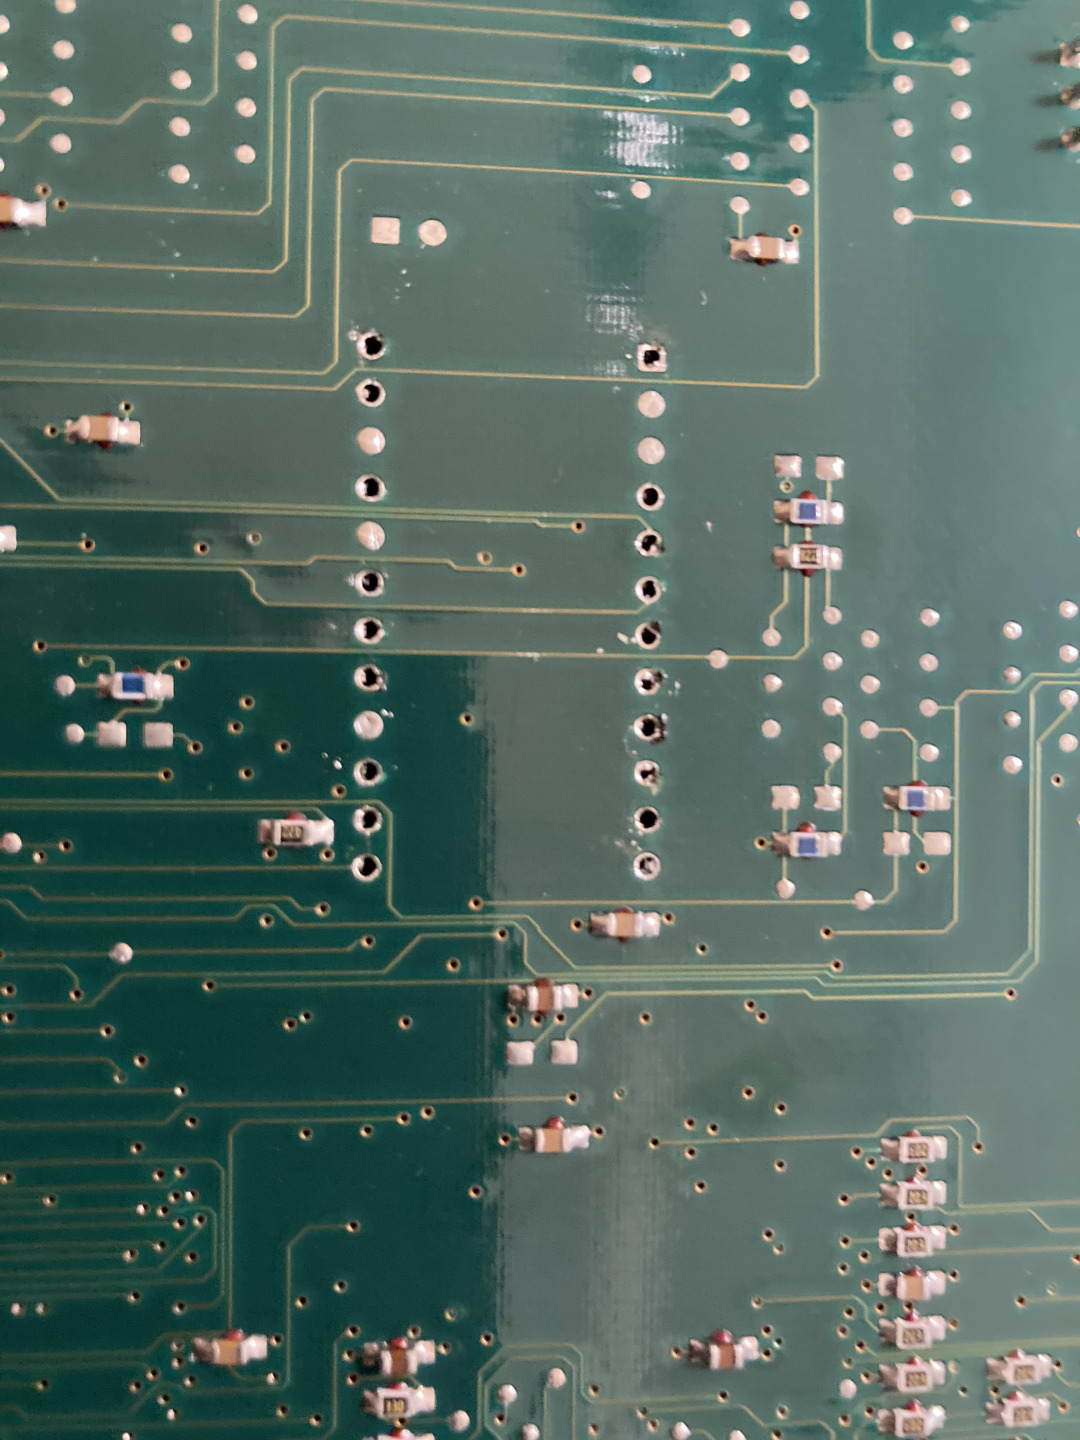
Success (at least my by standards)! I definitely scorched some of the board but I thought it looked good enough to move forward. I'm sure someone more experienced with this type of work would have some valid criticism.
View of the top-side of the motherboard with chip removed.
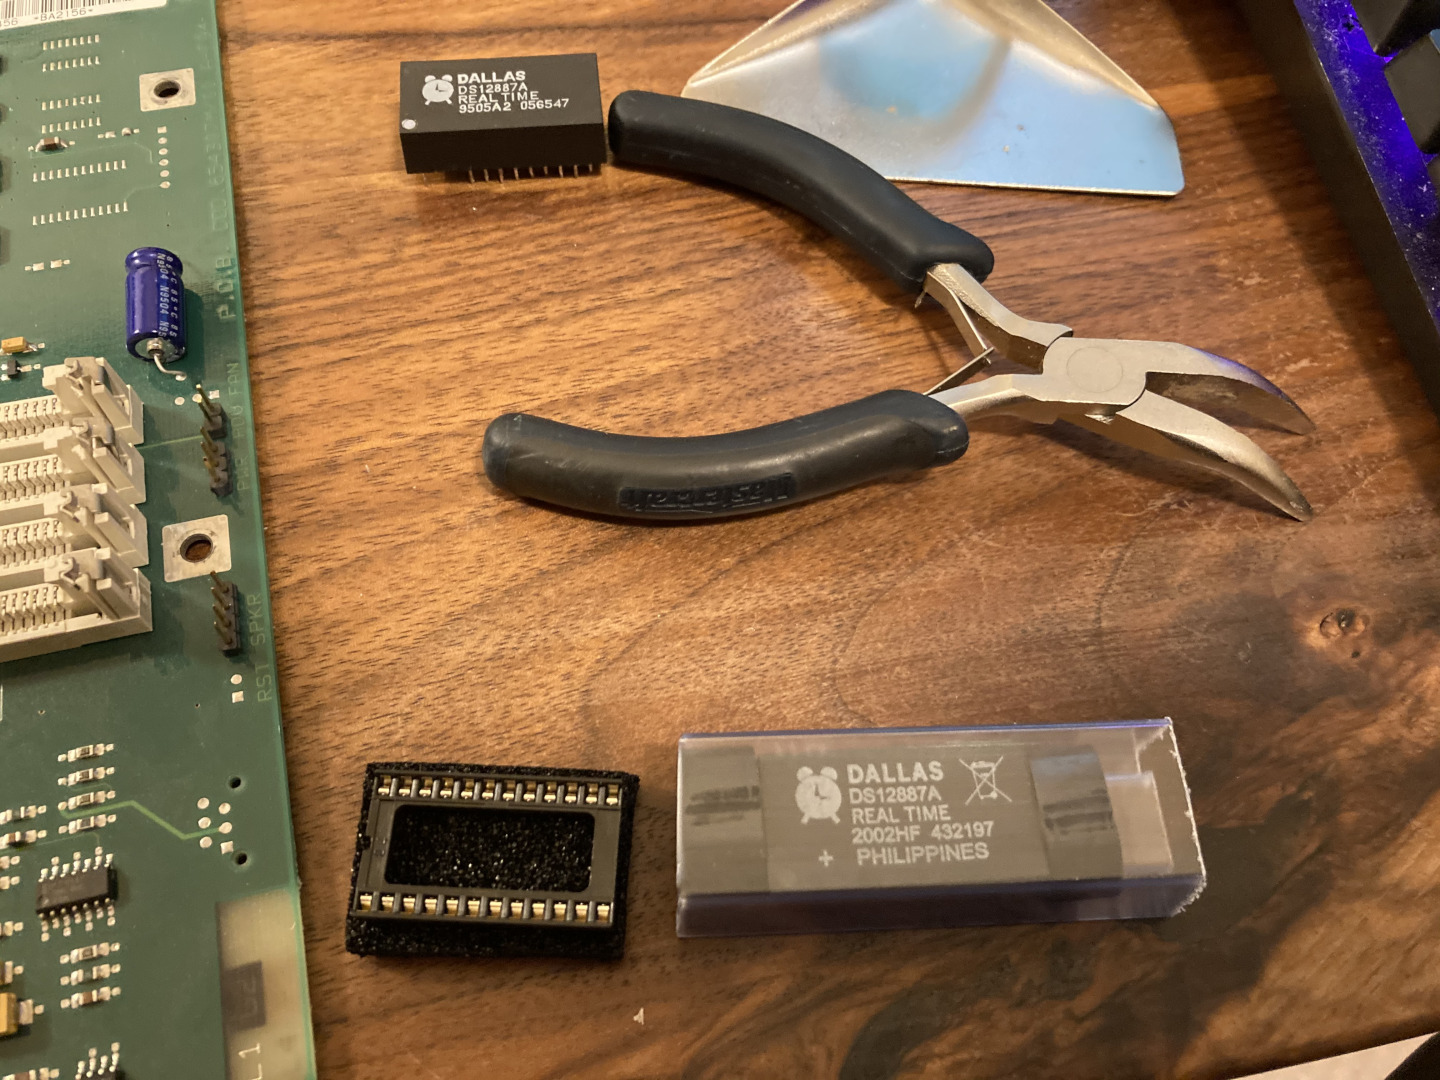
The socket I'll be soldering back into place (left) and the replacement DS12887 chip (right).

Socket with the unneeded pins removed.
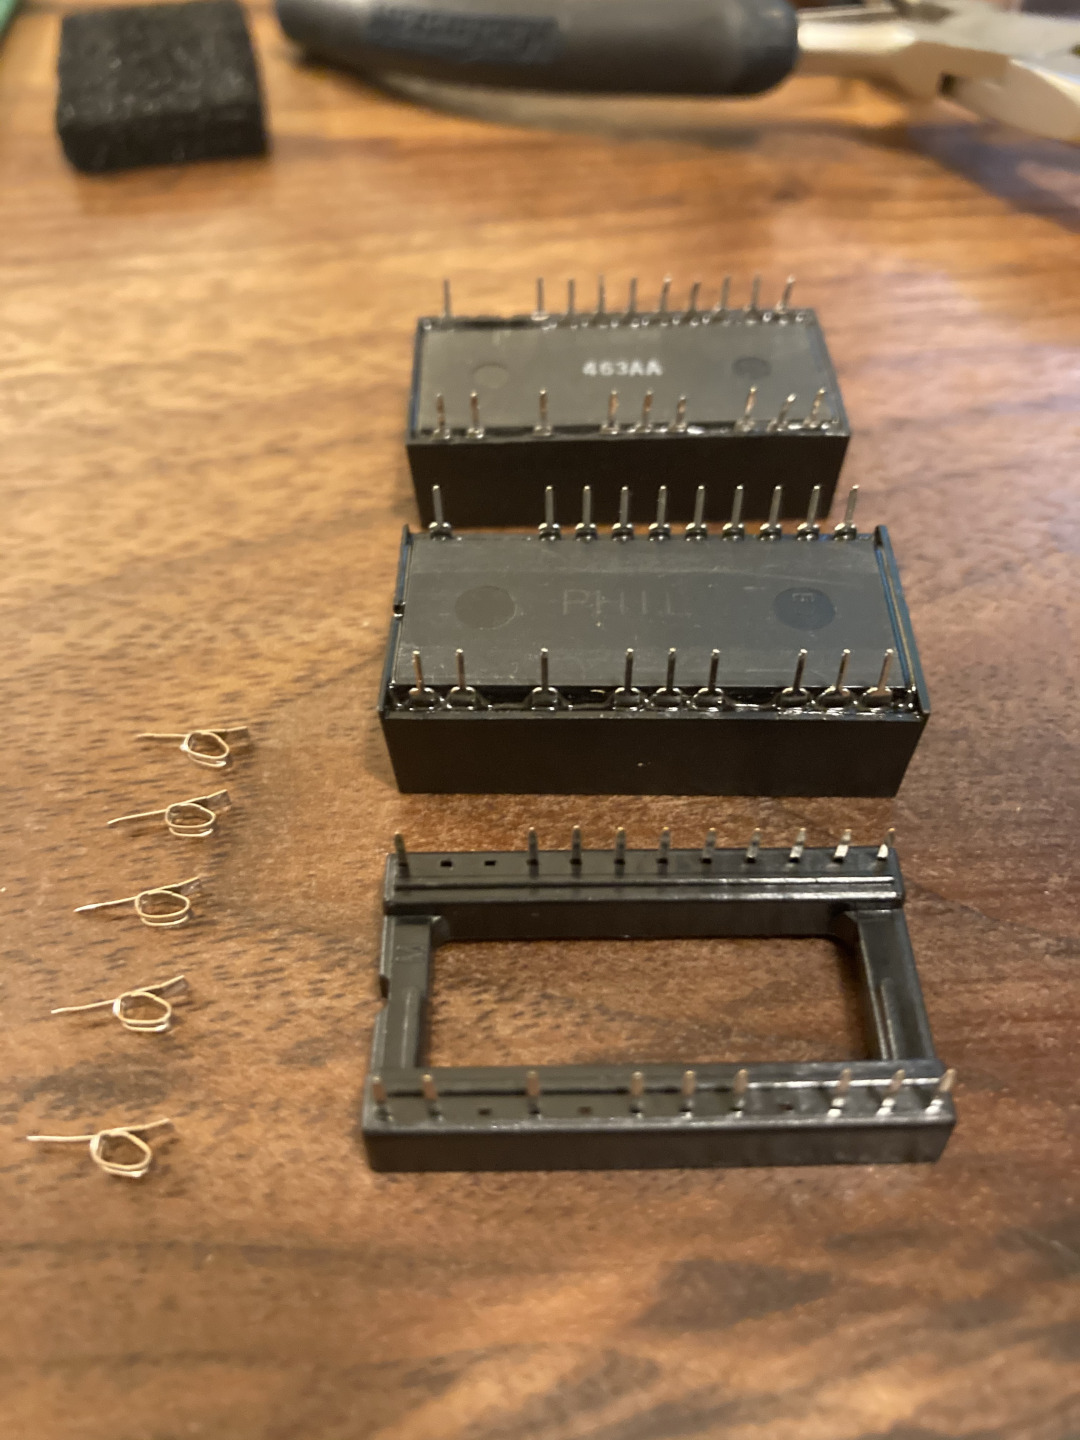
Old chip (top), new chip (middle), new socket (bottom).
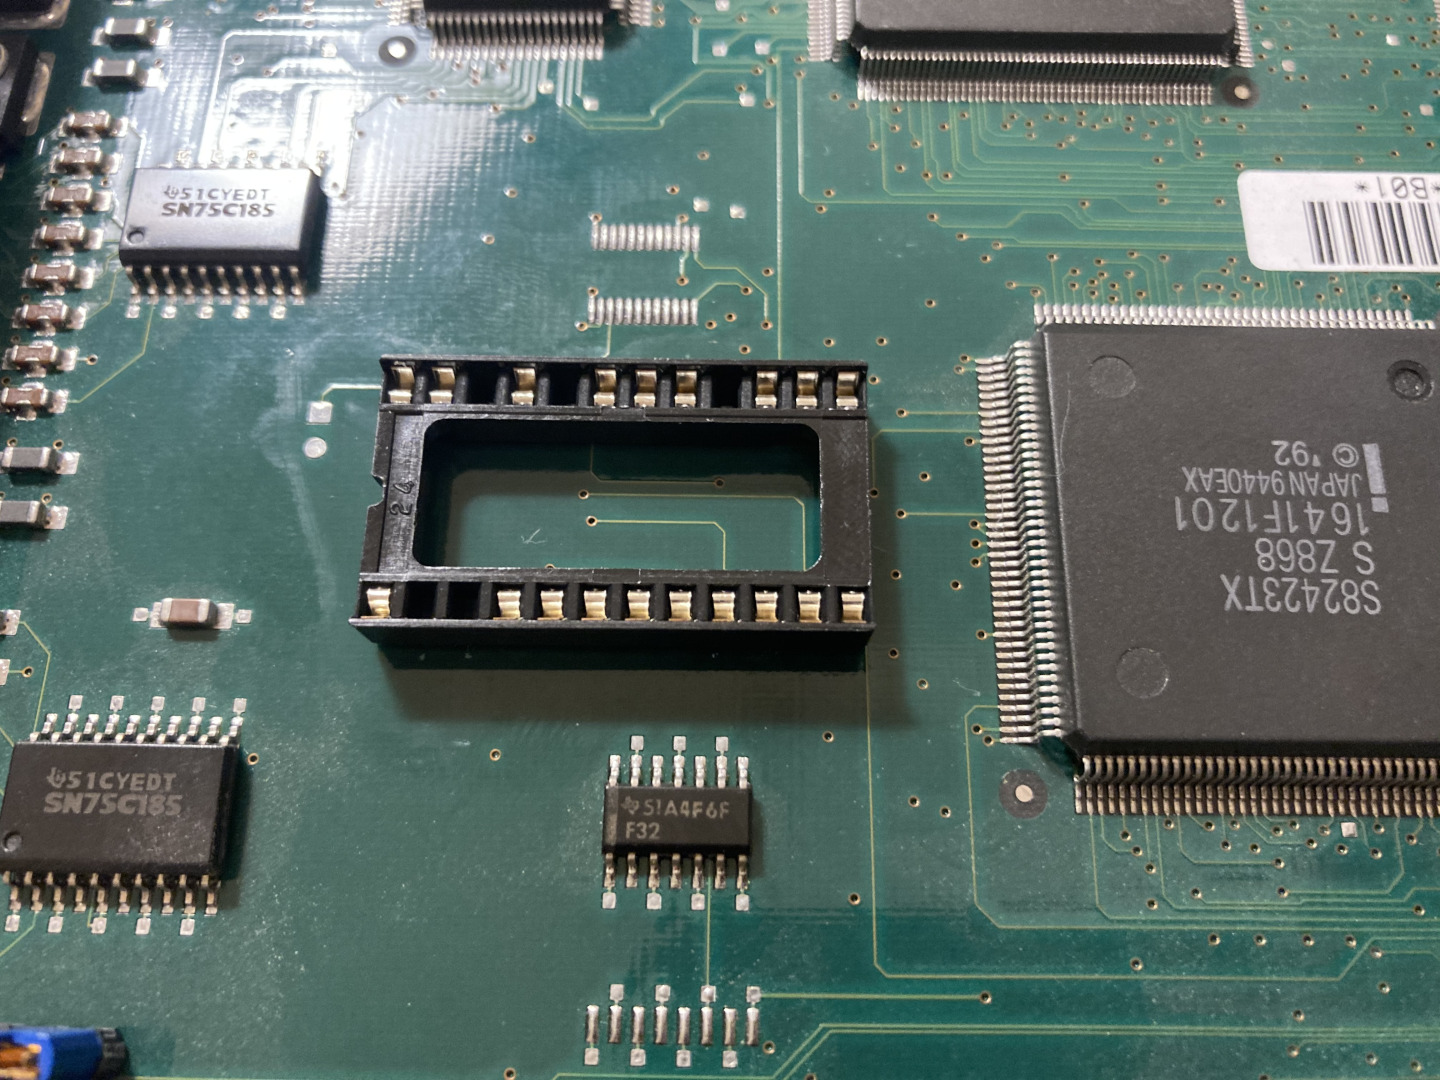
The socket plugged into the board.
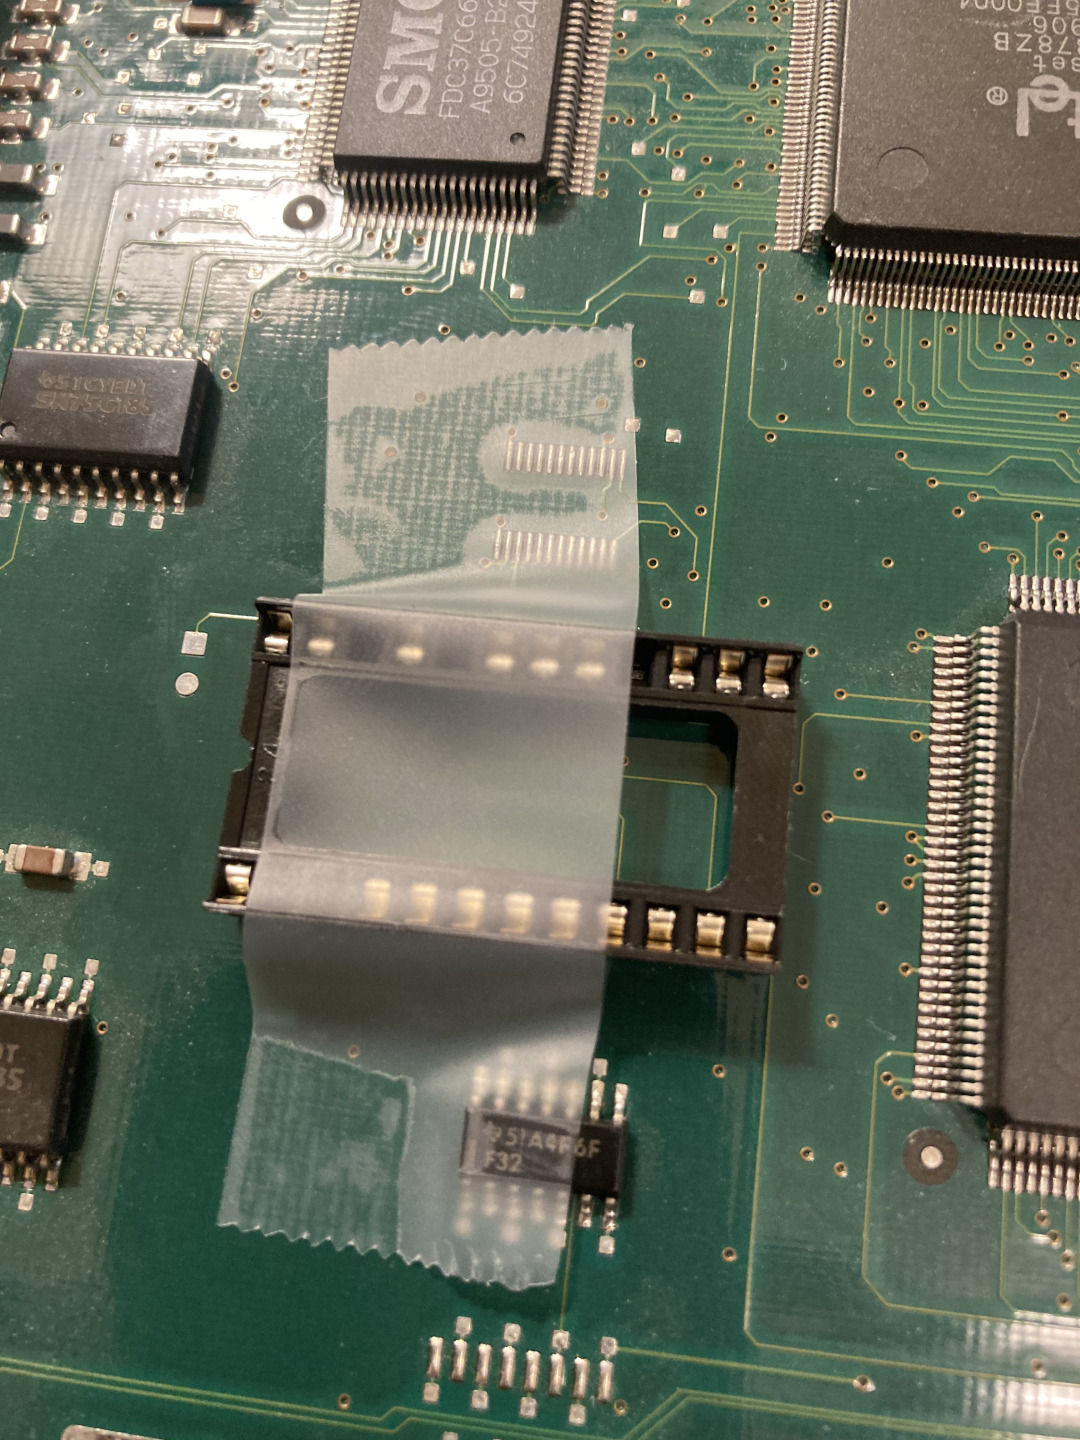
I used some scotch tape to hold it in place for soldering.

My immaculate soldering work on the socket.
Zoomed out view of the new socket soldered in place.
The new DS12887 chip plugged into the socket.
Repair complete - time to re-assemble and hope this all works.
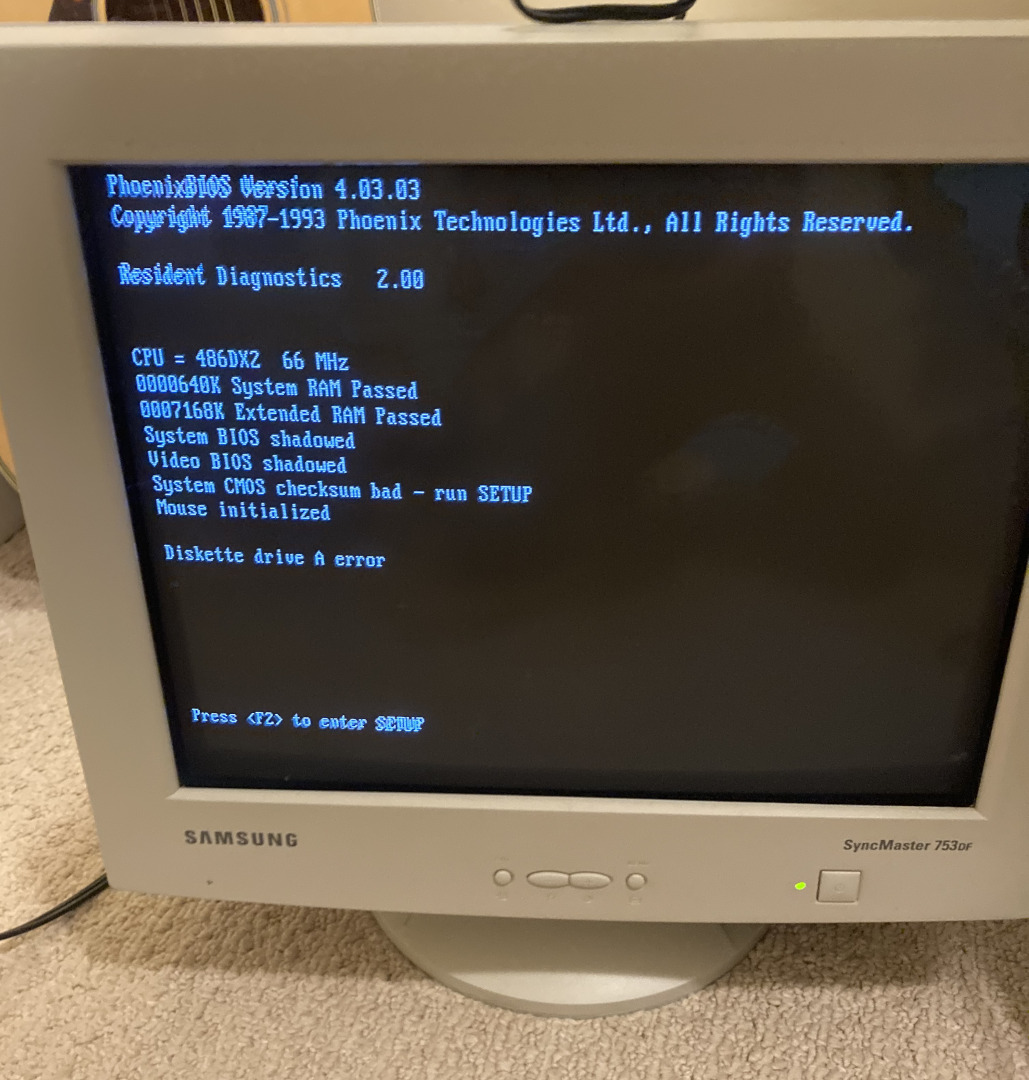
Success! Now begins the retro-gaming experience!
More vintage hardware related posts will surely follow in the future as I explore expansion cards as well as other systems I acquire. If anyone is interested in all the tools I used, here's a list (with non-affiliate links):